 One of the things that I love so much about Goth style is that it doesn’t scrimp on the accessories, and every Goth that I know has a veritable drawer full of jewellery to match different looks, none of which has to be pricey to purchase. However, even if you are not at all creative, you can still make your own jewellery or repurpose your old bits and bobs into new styles, for a fraction of the cost of anything that you might buy in the shops or online.
In this article, I will cover the basics tools and equipment that you should invest in to start DIY’ing your jewellery box, as well as some tips on things to make.
Tools of the trade

First of all, even making basic jewellery is a hell of a lot easier and likely to turn out well if you have the right tools for the job, and investing just a tenner or so in some basics is more than sufficient to get you started. Compromising with kitchen scissors and electrical pliers is not ideal, and will soon make things fiddly and messy to work with.
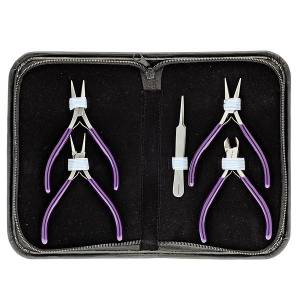
My advice is to invest in a kit of small jewellery pliers which includes as a minimum a pair of wire cutters, a pair of round nose pliers, a pair of flat nosed pliers and a pair of end cutting pliers.
These will allow you to curl wire, fold wire into shapes, and cut and blunt the ends of metal without leaving sharp edges, which is pretty much all you need from your basics.
Also, invest in some clear, reasonably thick fishing line for beading (this is more flexible and hardwearing than wire) and some crimp beads to seal the ends of things, as well as some basics such as ear wires, necklace closures, jump rings and split rings.
A magnifying glass will not go amiss either, and a box with individual sections to keep everything tidy in is also an excellent idea.
Beads

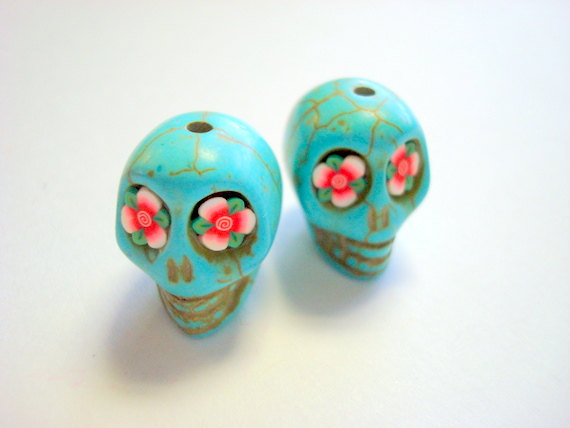
Beading is ridiculously easy and addictive to get the hang of, and beads of all shapes and sizes can be bought cheaply from places such as Ebay or your local craft store. One point to note when looking at beads for sale is the size of the hole in the bead for threading, as I have on many occasions ended up with beads whose centre hole is too small to take your wire.
After that, you can go as mad as you like, from a basic single-strand beaded necklace or bracelet, right through to a chainmail effect, complicated contraption that will take you hours to complete.
Another tip to bear in mind is that while crystal beads made of semi-precious stones can look awesome, they can also be fairly weighty, so bear this in mind when designing your earrings, to make sure that your end product doesn’t end up stretching your lobes or being painful to wear.
Some basic designs to get you going

So, ready to go? Here are three of my favourite ideas and tutorials to try out.
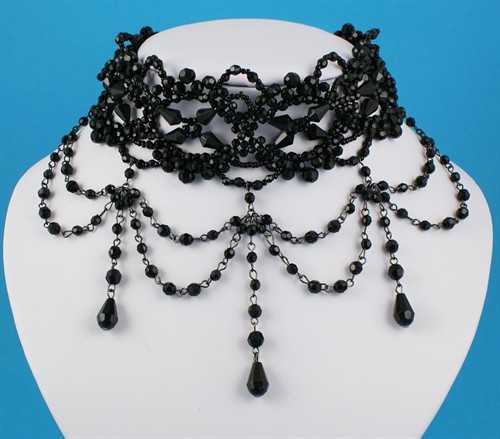
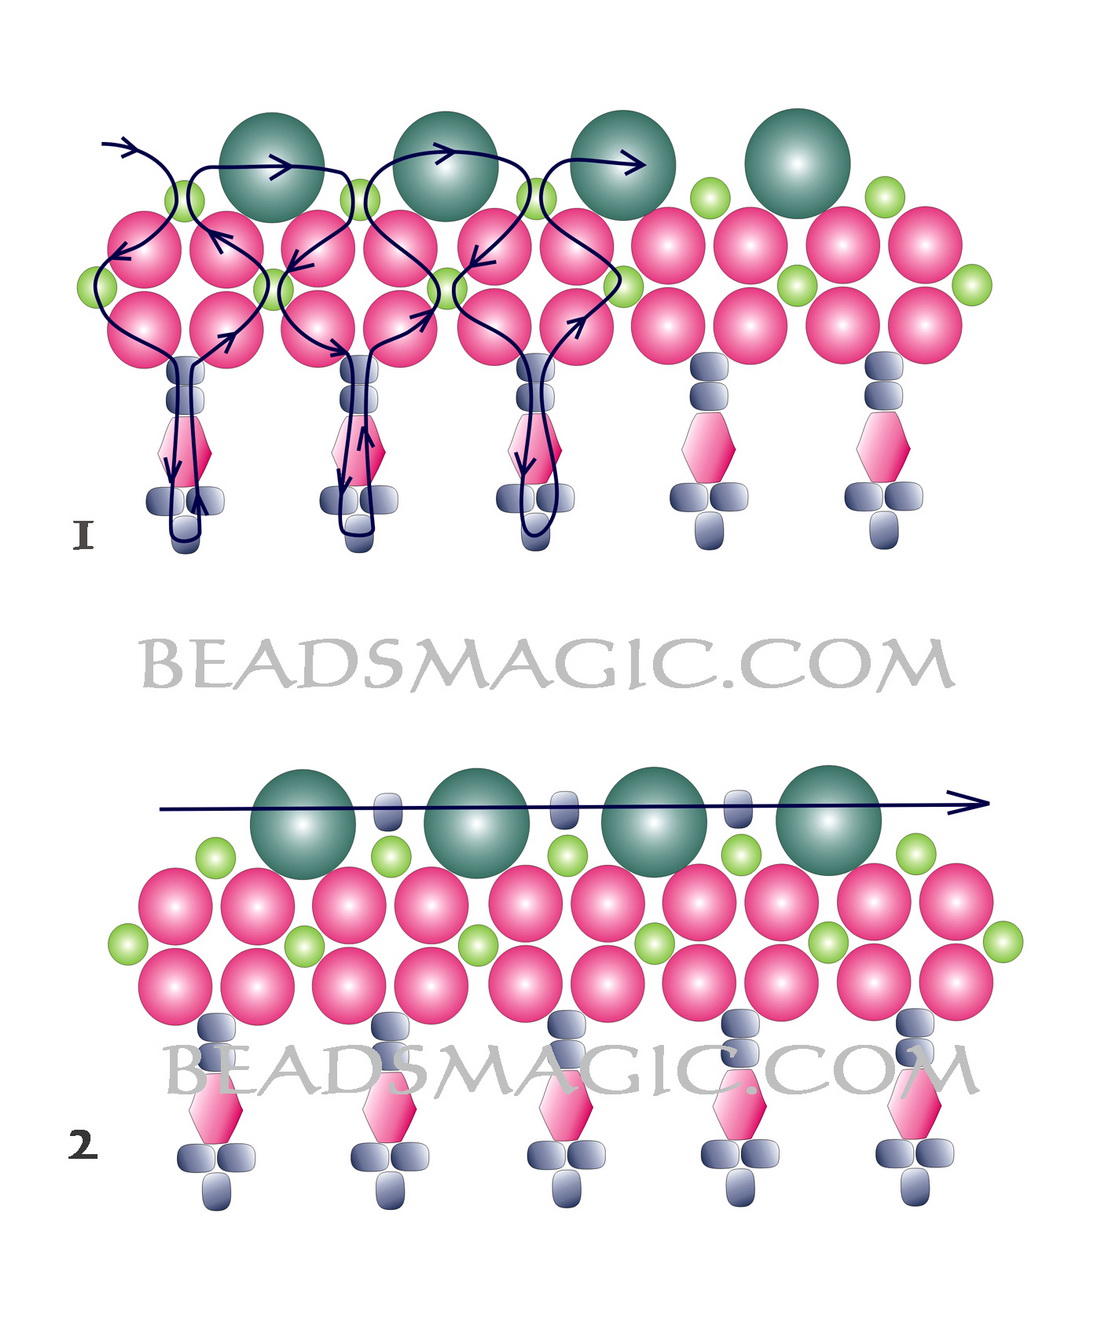
Beaded necklace on Antimony and Lace

